Showing posts with label Section 13. Show all posts

Tuesday, May 10, 2016

Section: 17
Hours: 7

I will be installing an AOA / pitot tube with an AOA display in the cockpit so I've been debating whether I should also install the stall warning vane. It is easiest to install before you attach the leading edge to the spar. I had already cut out the slot for the vane so if I leave out the stall warning vane I would have to somehow fill in the slot. I decided that it would be good backup to have the stall warning vane incase the fancy glass panel goes black at some point.

So, I rounded up all the components and assembled the stall warning vane with lots of washers from several different bags of parts. When I went to install the vane in the leading edge assembly I discovered that I had installed the wrong outboard ribs. I mistakenly had put the W-1008-L rib in the left leading edge and the W-1008-R rib in the right leading edge. This is completely backwards- the right rib goes in the left leading edge and the left rib in the right. Silly me!

I drilled out all the rivets and swapped the outboard ribs to the correct assemblies and then riveted them back in. I drilled out all the rivets very carefully today, but a couple in the nose area were a little hard to extract. Many months ago I had ordered an oops rivet kit from Avery - before they closed their doors :-( I finally got to use a couple to complete the job today.

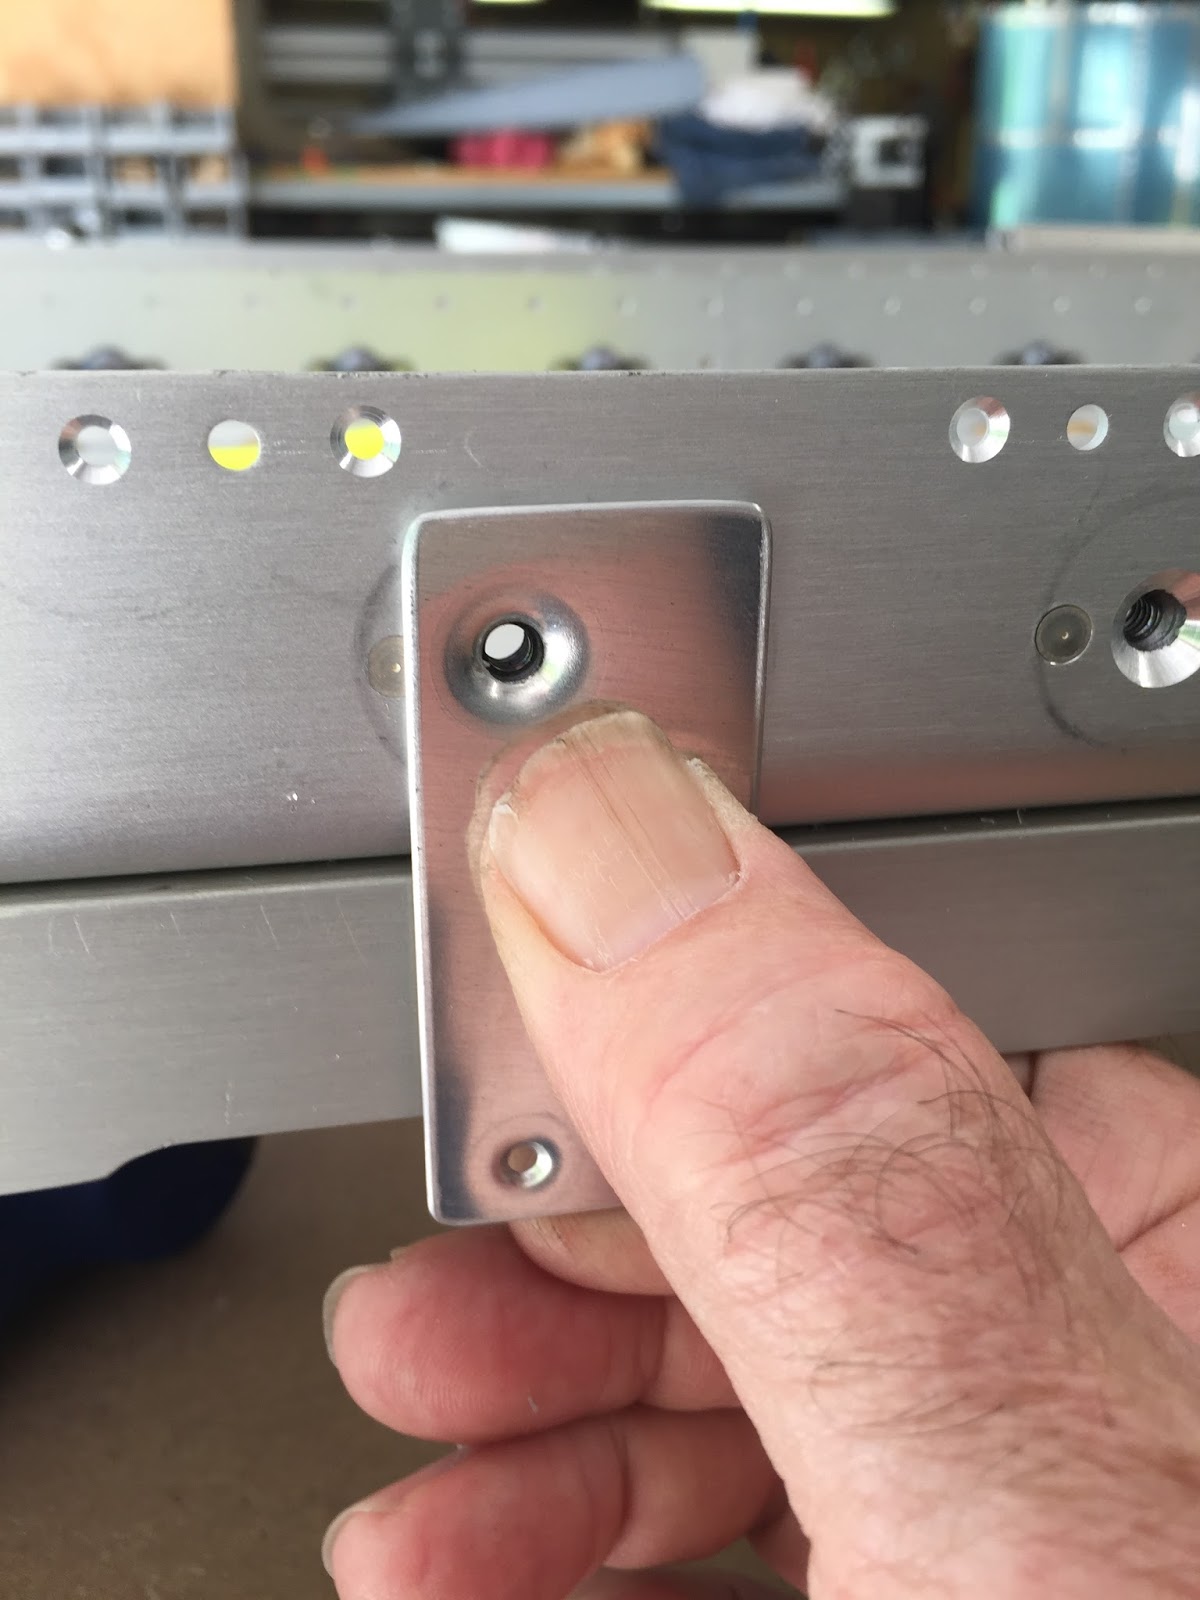
Here is the stall warning vane assembly installed on the corrected inboard rib.

Next I attached the outboard leading edge pieces to the spar. I installed all the pull rivets in both wings.
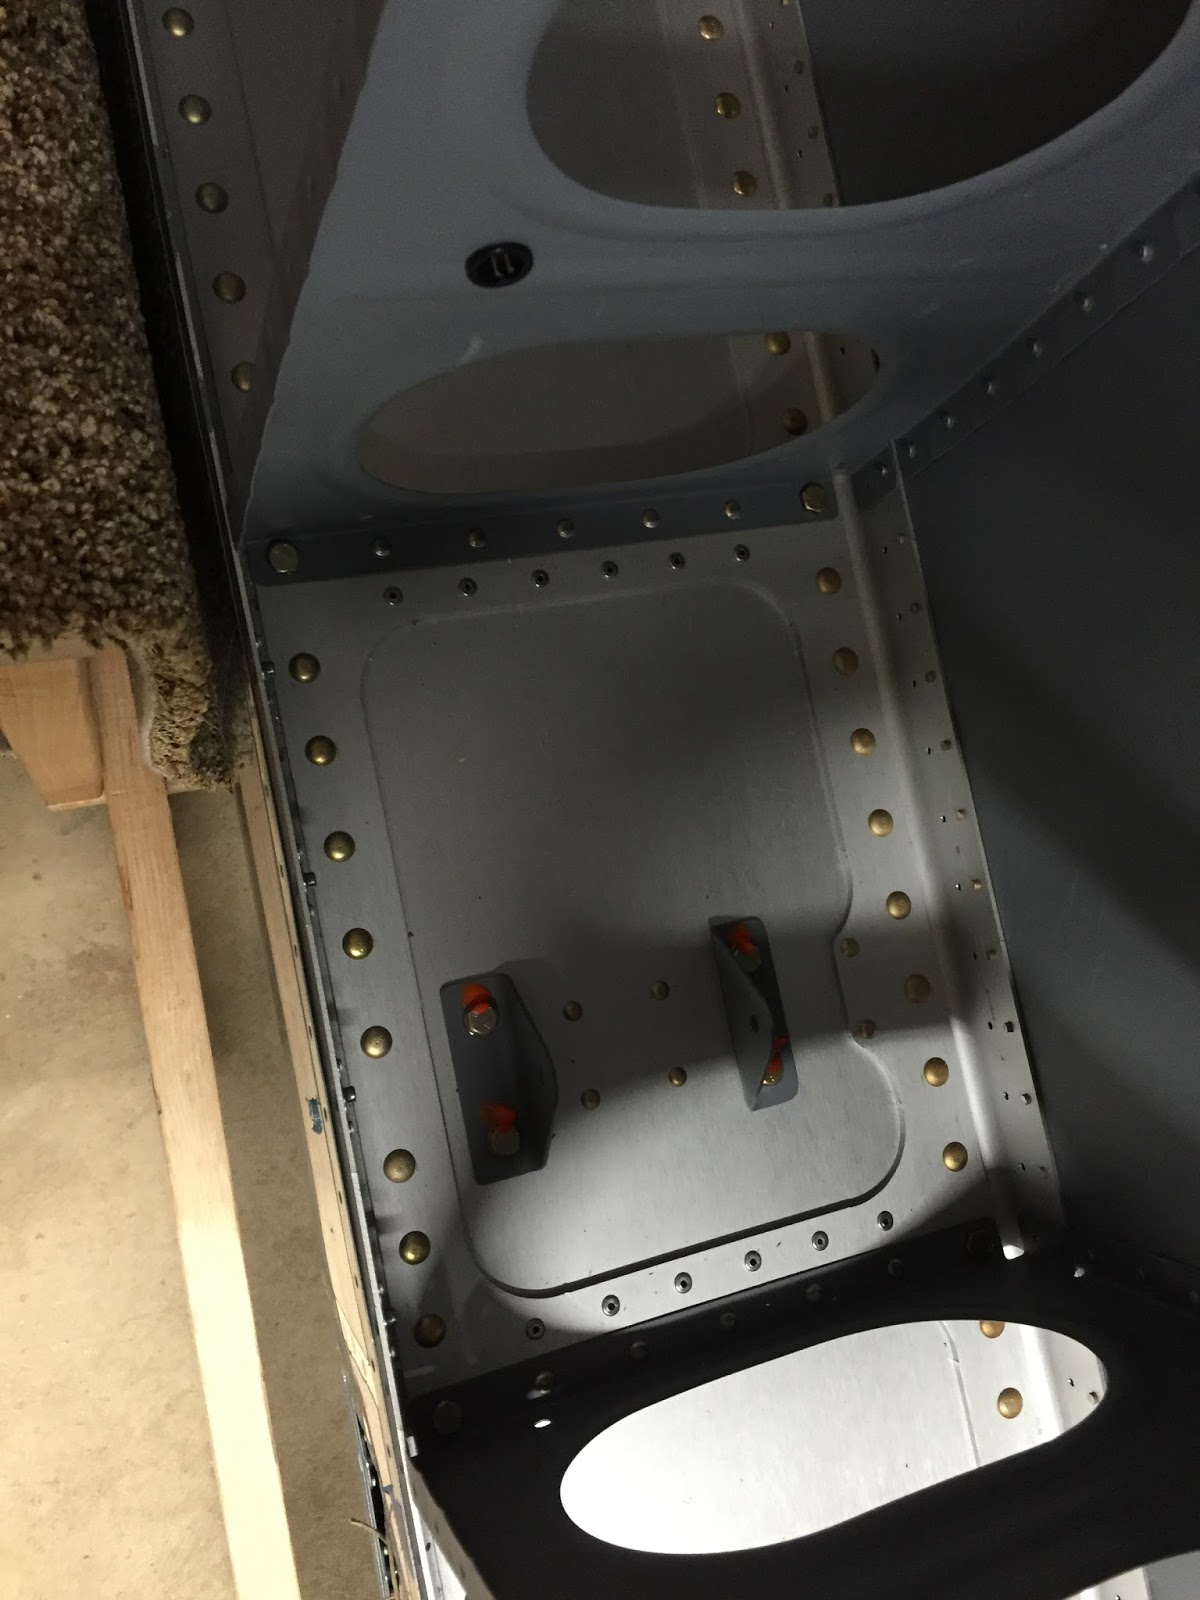
Here are the wings nestled in the cradle for the night. Richard and I will rivet the leading edge skins to the spar flange tomorrow and then I'll move on to work on leak testing and installing the tanks.

Monday, May 9, 2016

Section: 13
Hours: 2

Today I double checked my work and reread the construction manual in preparation for joining the leading edge pieces to the spar. When I trial fitted the outboard leading edge assemblies, I noticed I had overlooked breaking the joining edges. Since the holes were already dimpled, I couldn't use my edge break roller. I manually used my duck bills and put a slight break along all the edges.

In looking over the rivet call outs, I saw the note about holes for the tie down lugs. I got out the step drill and enlarged the already drilled tie down holes to 3/8".

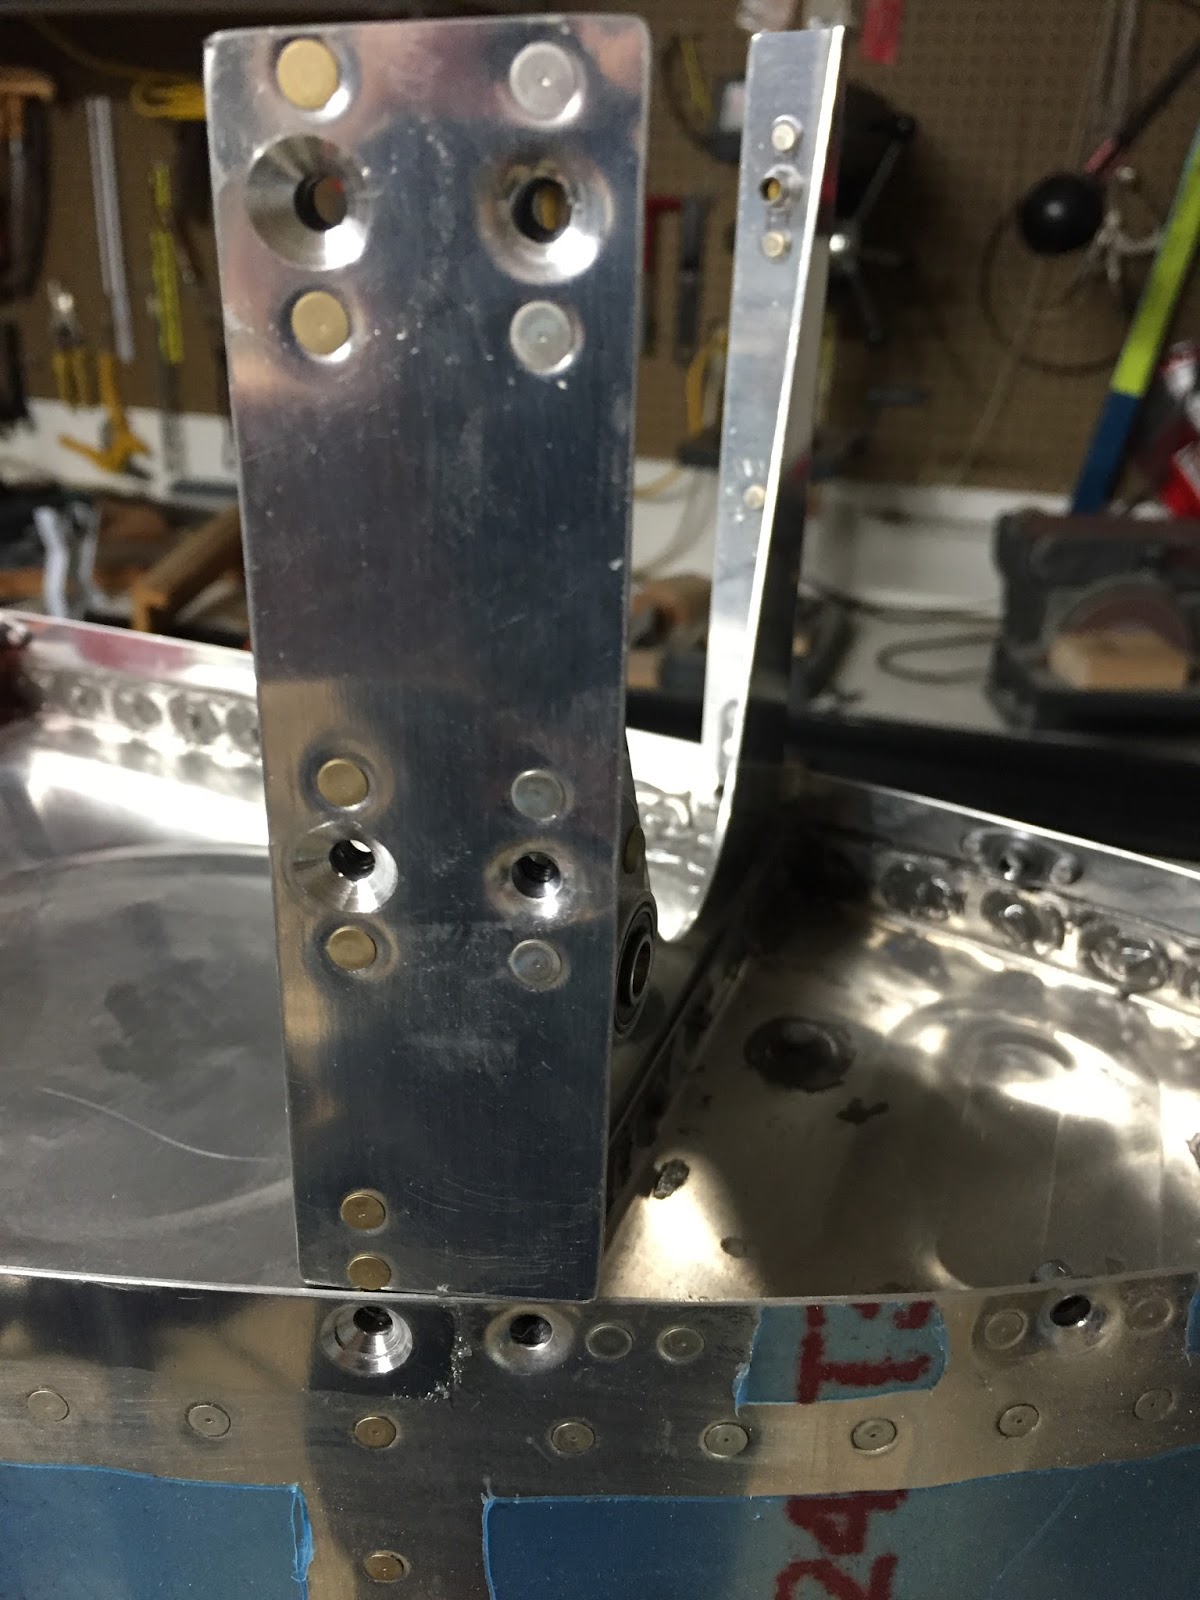
Next I noticed there were some empty holes in the spar. On further investigation I realized I had overlooked some nut plates that were called out back in chapter 13. They are all the way out at the end of the spar and were off to the side of one of the manual drawings. I counter sank the holes and riveted in the nut plates. It was a little more work moving the spar around now that the ribs, sub spar and top skins are attached.

Section: 16
Hours: 2.5

I felt pretty confident that the outboard leading edge assemblies were ready for attaching so I moved on to finishing up the tanks. I counter sank the holes at the inboard side of the tanks using the #8 counter sink and finishing up with the #30 because the #8 would not go all the way to the final depth.

I hadn't done the pressure test yet to check for leaks, so I rounded up all the plugs, drains, strainers, fuel caps, balloons, air valve, thread sealant and a bicycle pump and went at it.

You have to insert plugs in the remaining open holes. I spent some time researching the proper torque values and what sealant to use. After perusing chapter 5 and reading several threads on Van's Airfare it looks like you apply thread sealant and then finger tighten the plugs. Then you tighten another 1.5 to 2 revolutions with the wrench. Same thing for the fuel strainer and the fuel drain plug. Here's the sealant that I bought at the local auto parts store.

I found the gas cap was a little loose, so I tightened the nut on the inside of the cap until I felt a little more force on the locking arm when closing it up. Then I taped over the gas cap with clear packing tape to fully seal it.

Here I've pumped air into the tank just enough to inflate the balloon that is tied to the vent line. The balloon stays inflated for about an hour and then slowly deflates, so I have a leak somewhere. Tomorrow I'll get out the soapy water and spray the tank down to look for leaks. Right now I suspect the balloon is leaking, but the soap will tell.


Friday, April 8, 2016

Section: 13
Hours: 1

I had just a few tasks left to finish up section 13. I set the rivets in the spar ends and add the remaining nut plates.

I also added the aileron bell crank brackets. I'm not sure what torque to use on the AN3 bolts- I'll try tech support later.

Section: 14
Hours: 4

I also primed the ribs and other parts for the right wing.

Thursday, April 7, 2016

Section: 13
Hours: 5.5

I started out the day by priming the j-bar wing skin stiffeners and the spar flanges.


The longer sections of the j-bar didn't fit in the spray booth so I improvised.

The spars didn't fit in the booth either. Luckily there was no wind this morning. I primed the flanges due to the large number of countersinks. The rest of the spar has a nice clear anodized finish and should be resistant to corrosion.

This afternoon I washed and acid etched the wing ribs for the right wing.

Wednesday, April 6, 2016

Section: 13
Hours: 4

I dimpled the holes in the j-bar wing skin stiffeners and prepped them for painting (wash with soap and water followed by acid etch). I also prepped the flanges of the spars for priming. I only washed and scrubbed the flanges with maroon pads. I didn't acid etch because I didn't want acid getting between the layers of the spar. I finished off the day by masking off the spar flanges.

Tuesday, April 5, 2016

Section: 13
Hours: 4

Today I made lots of aluminum shavings while countersinking over 500 rivet holes in the spar flanges.

The weapon of choice was my variable speed electric drill.


Here's a recap of todays action


Monday, April 4, 2016

Section: 13
Hours: 4.5

After riveting in the nut plates for the tank screw fasteners, you counter sink the screw holes to a width of 0.370", which is a pretty big countersink. Luckily the #30 countersink pilot centers in the nut plate screw hole which allows forming a nice countersink.

Double checking the countersink against a dimple in a trim scrap the same thickness as the tank.

Next you attach nut plates for the access plates - 12 on each spar.


After the access nut plates are riveted, you countersink the screw holes - more large countersinks only possible because the pilot of the countersink engages the screw hole in the nut plate.

Then you come a single line task in the manual- "countersink all the rest of the holes to accept a dimpled wing skin". That's a LOT of holes. I was able to finish one flange of 1 spar this afternoon. That means there are 3 more flanges with lots of holes left to go.

I ended up doing these countersinks using my electric drill. I got tired of listening to my air compressor while using the air drill. Also, it is easier to run the electric drill at lower rpm's to prevent chatter and make a cleaner countersink.

Thursday, March 31, 2016

Section: 13
Hours: 7

Today I final drilled and deburred the remaining #40 holes in both the spars. Then I counter sank the rivet holes for the spar flange nut plates.

Counter sinking was another sit down job. If you don't hold the drill exactly perpendicular to the flange the counter sink will start chirping and elongate the pilot hole. I started each countersink slowly and adjusted my angle to make sure the chirping sound didn't start. I double checked each hole with a rivet to make sure I was maintaining the proper depth. It's slow work, but I didn't want to screw up the spar. The spar is one of the more expensive parts of the airplane to replace...

A few of the 116 counter sinks on the left spar.

I had time at the end of the day to squeeze some rivets. These nut plates are for attaching the fuel tank    to the spar. It was nice to be back to setting rivets without ProSeal gumming up the works :-)


Nut plates riveted to the top flange of the other spar.

Wednesday, March 30, 2016

Section: 13
Hours: 4

After thinking about it over night, I realized that the j-channels could be clamped to maintain a 1/16" overlap on the spar flange even if the spar has a slight camber. I'd just have to make multiple measurements along the channels to make sure they have the same camber while I'm drilling.

Here I've clamped the channel to the spar flange with the 1/16" overhang and I'm drilling the first hole.

I used the tail of my micrometer set to .0625" to set the channel overhang.


I measured, clamped and then drilled and clecoed 8 locations before proceeding with the rest of the holes.

Drilling the remaining holes was a sit down job- lots of holes!

Here are the j-channels for both wings match drilled to the spar flanges. The blue tape on the bottom flange of the spar is for where holes are skipped.

The last step in match drilling the j-channels is to flip the bottom channels 180 degrees and then attach them to the top flange for drilling the 3 areas that were skipped (see blue taped areas in picture above). When you rotate and flip the channels they then cleco on the top flange with the j portion sticking up.

Another day with lots of work but little to show...

Tuesday, March 29, 2016

Section: 13
Hours: 2

I cut the wing j-channel pieces to length and prepared to match drill them using the holes in the flange of the spars.

The manual suggests blocking the spars so they are level on the table before clamping the j-channel pieces onto the spar flange. I started blocking and discovered that the spars come with a little camber built into the section where the heavy spar caps are riveted to the spar web. I laid the spars back to back and blocked the bottom spar. You can see about an eight of an inch gap between the two spars. I could squeeze them together without too much force, so I am assuming when the wing skins and leading edge components are clecoed on the spars will straighten out.

I laid out the two spars on the table and clamped them in place to hold them flat. They still aren't totally flat so I decided to knock off for the night.

Thursday, October 29, 2015

Section: 13, 22
Hours: 8

I started work on the wings by finishing the edges of the flap hinge brackets. They were sitting there and the edges were just begging to be polished. This is totally out of order with the manual but I did it anyway.


That got me to thinking about what order I wanted to build the wings in. It was really a hassle building the tail cone because it took up so much room. I know the wings eventually will also have a large space requirement. I decided that I will complete as many of the smaller components of the wing as I can before I start work on the spars. Also, while the weather is still good, I'm going to try to get as many parts prepped and primed as I can. Then later this winter I can stay in the warm dry garage and work on assembling parts. My plan of attack is to complete the ailerons, flaps and leading edges and fuel tanks first. I can store them out of the way and then have more space for working on the spars and center portions of the wings.

I started prepping the aileron parts. There are 32 ribs/stiffeners that have to be cut and formed from channel provided in the kit. I put together a cutting jig to make the diagonal cuts easy using my band saw. Of course the first stiffener slipped in the jig the first time I used it so I had to fabricate another one from the trim sheet scrap left over from the empennage kit. After that it went fairly quickly.


My shop helper graduated from Puppy Training II class tonight! I'm going to have to get one of those bumper stickers that says "My Aussie is smarter than your honor student"

Wednesday, October 28, 2015

Section: 13
Hours: 8

We moved the tail cone into our living room behind the sofa. I've been storing my completed parts there to keep them safe and away from the dust in the garage. It makes a great conversation piece for when we have guests.
I finished organizing the wing kit components and took an inventory of all the small parts. All parts plus some extras were accounted for and checked off the inventory list. I also broke down the wing crates and pulled out all the staples so I can use the wood for fixtures, jigs, etc. It's great having the crates off the floor. It should make building the wings much easier.